


The Northern Lights have inspired people in the North for millennia.
Recently, people from all over the world have been attracted by them and have come to the Arctic region to experience this magnificent phenomenon
Truth be told, nothing is as photogenic as the Northern Lights. However, capturing the experience of winter's mythical heaven can be a daunting exercise. To begin with, you need a decent camera and a tripod. The rest is a matter of preparation and… being patient. Mind you, we are dealing with nature, and this is something that we mere human beings cannot control. So, patience it is.
Here come 7 steps for Northern Lights photography
1. Check the weather forecast.
The fact that it is cloudless is a prerequisite for seeing the Northern Lights. Check www.yr.no for the most accurate weather forecast and look for more places around the area you are staying. If clouds are reported on the coast, it can still be clear inland. Should there be a cloudless night with full moon, you will have the best conditions for great photography.
2. Check the Northern Lights forecast.
Nowadays, there are several good websites that report expected Northern Lights activity in the near future. The most advanced pages and applications describe the expected amount of Northern Lights, their intensity and how far south they will be visible.

3. Bring your camera, tripod and lens.
It is almost impossible to take a picture of the Northern Lights without a tripod due to the long shutter speed that is often used. Remember to charge your camera and have some extra batteries. For best results, you should have a camera that allows you to change the settings manually, and where you can use a bright wide-angle lens with a focal length of 30 mm or less.
4. Wrap up.
Northern Lights hunting is an activity for the colder seasons. You don’t want to be shivering and freezing during a magical Northern Lights performance. Wear layers of warm clothes, insulated jacket, hat and scarf as well as warm shoes. Good gloves for warming your fingers between the photographing is also something not to forget.
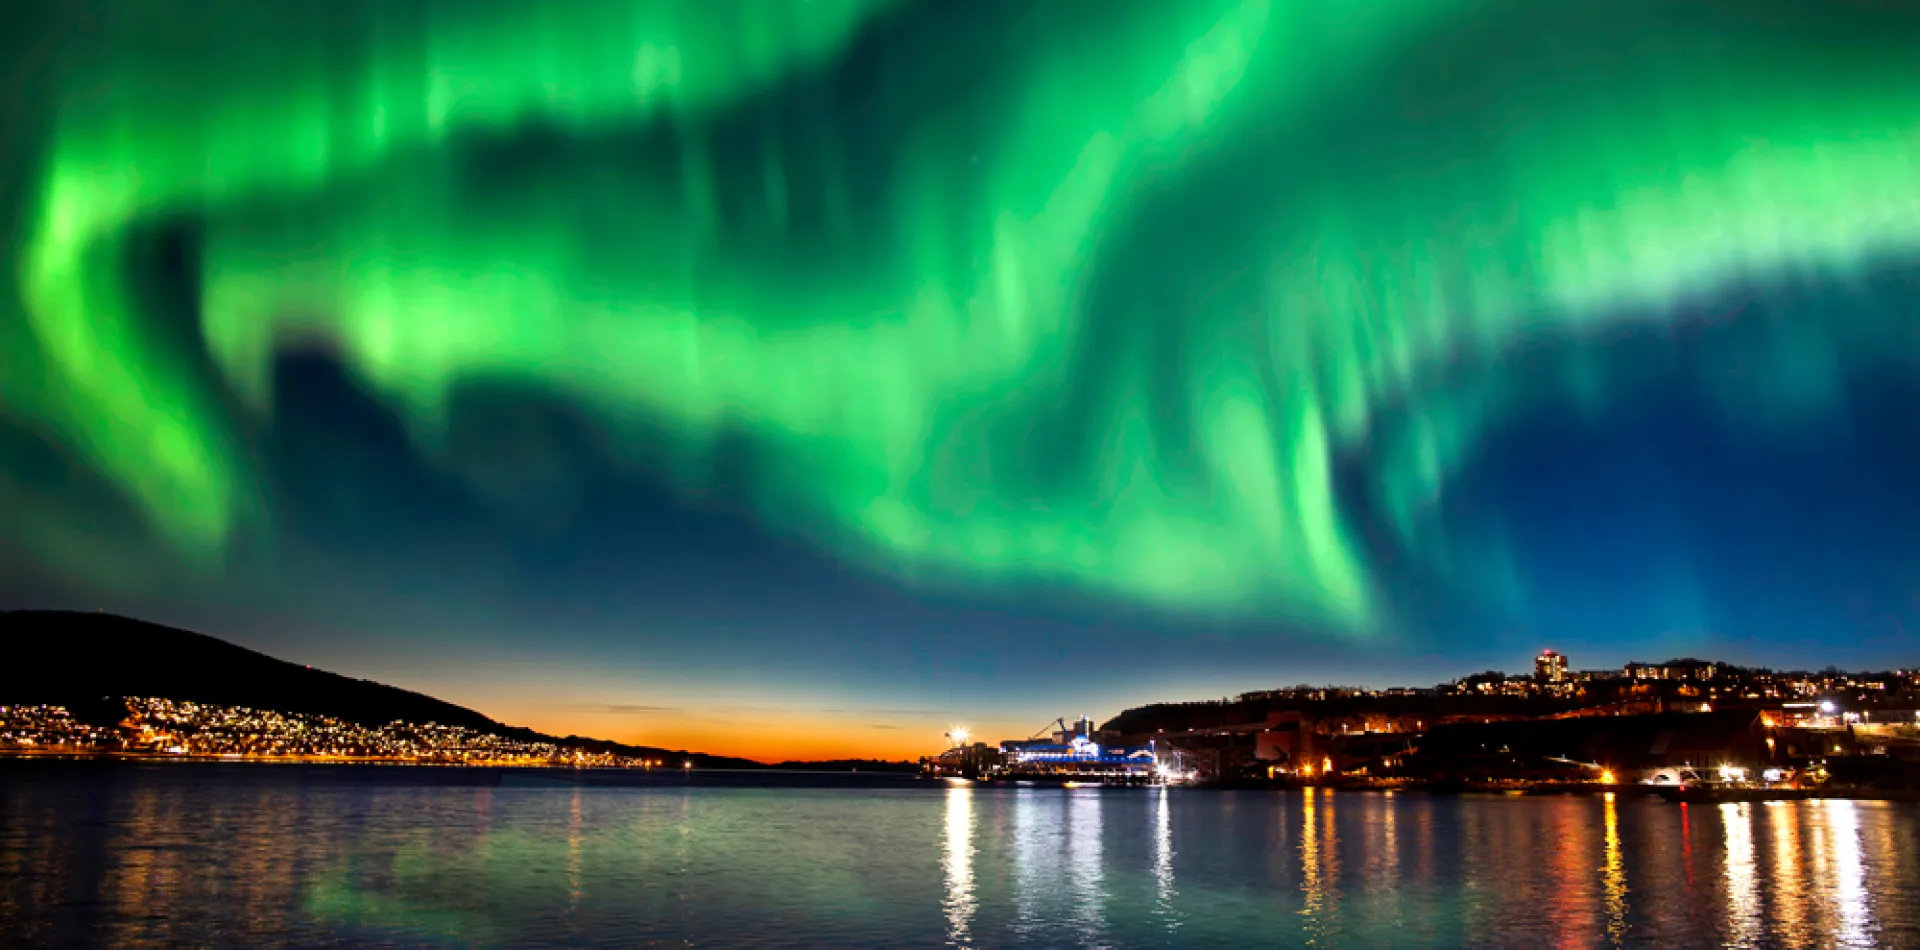
5. Go to a place with little or ideally no light pollution.
City light makes it difficult to see the Northern Lights. It is therefore advisable to move away from urban areas with artificial light. The best Northern Lights often have beautiful natural surroundings, so you may want to find a dark place with beautiful views.
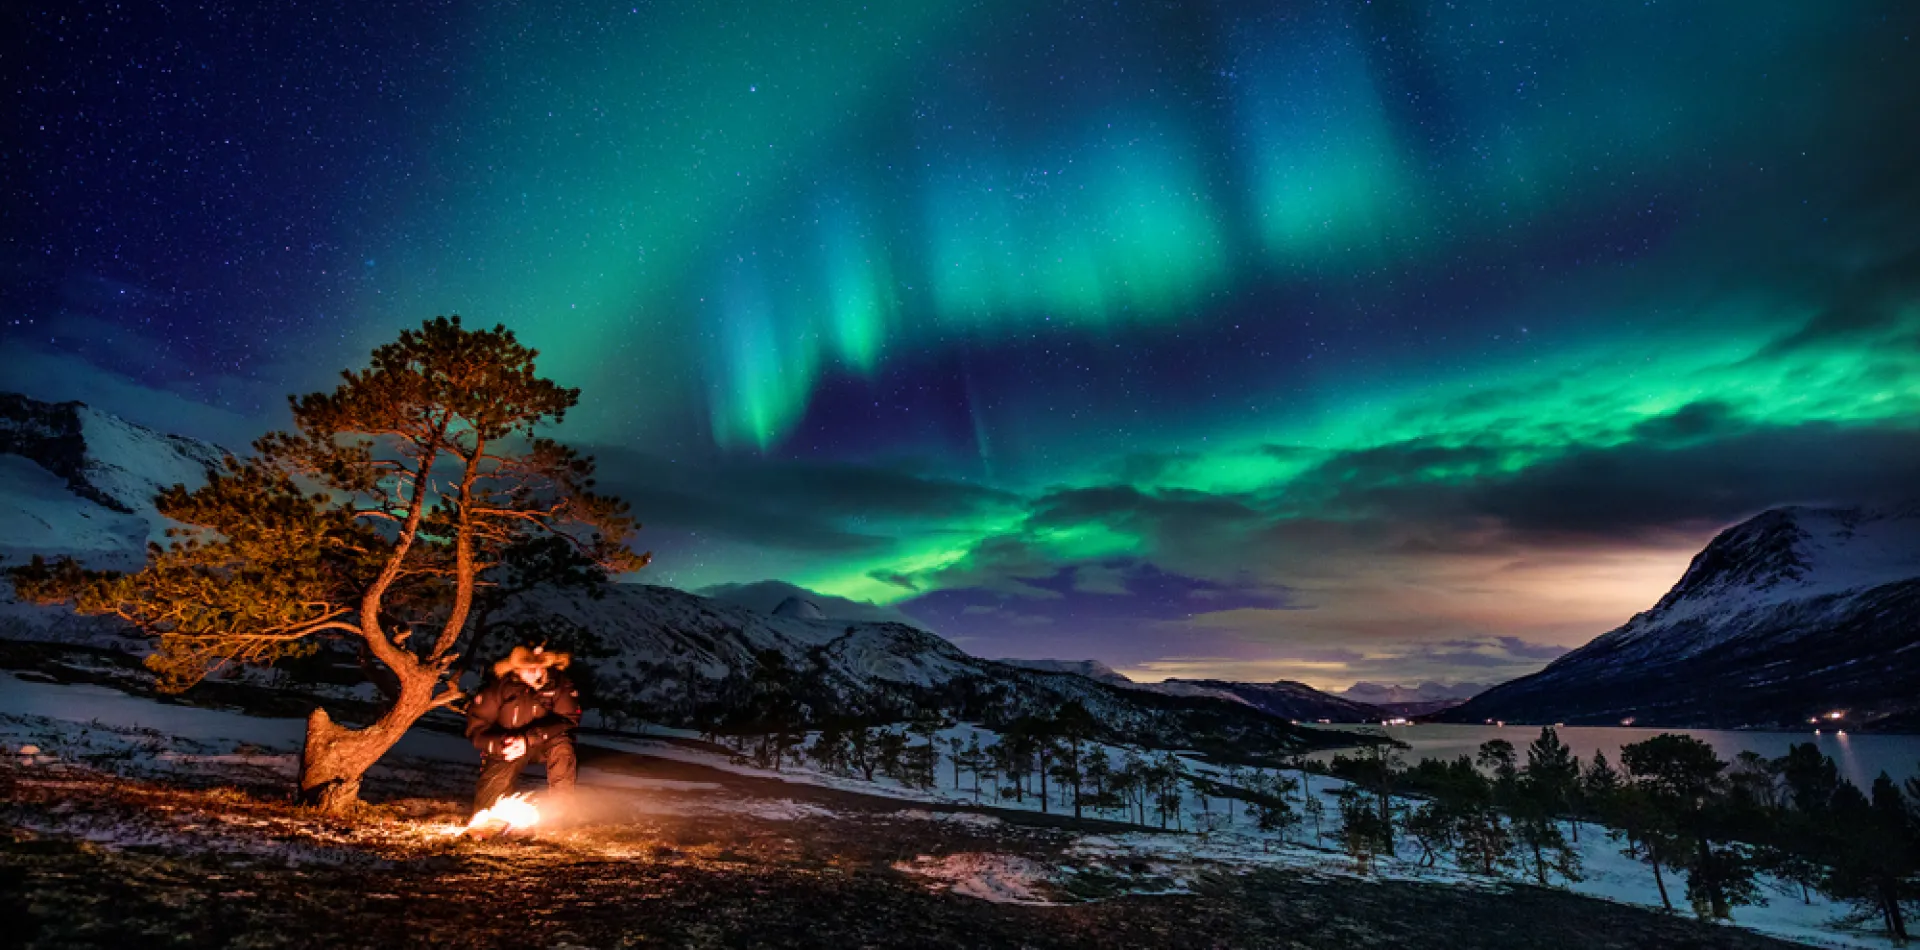
6. Use people, trees and water for the composition.
As with all other photography, it is wise to think about composition while taking pictures of the Northern Lights. Often it may be enough with people’s silhouettes or flash a bit of light on them as the exposure is being carried out. Trees, rivers and water are also good alternatives. If there is a fjord or a lake nearby, you can get quite spectacular pictures where the Northern Lights reflect in the water surface. Apart from the camera itself, the photo booth is the most important tool for taking good and sharp Northern Lights. Low light means you have to "open the shutter" and often allow the camera to take the picture for several seconds. Handheld images are quickly blurred, and even the cheapest tripod can do the job of stabilizing the camera.

7. Last but not the least, the settings.
Northern Lights come in different sizes and shapes, and the shooting conditions are different from place to place. Therefore, Northern Lights photography requires patience and experimentation. Thus, you need to set your camera to M = manual and adjust these different settings:
Aperture: This is stated as f / *. For example, f / 5.6. The lower the number, the more light is let into the camera. Since it is dark outside, you should have as low numbers as f / as possible.
Shutter speed: When you take a picture, the reality of a picture chip is reflected in a given time. If you have a short shutter speed of 1/60 second, little light is let in. For Northern Lights photography, you need a long shutter speed, from about 5-30 seconds depending on the other settings and the intensity of the Northern Lights.
Self-timer: It is also advisable to enable self-timer, so that the camera starts exposure a few seconds after you press the shutter button. This prevents camera shake as a result of your touch. You can also have remote triggers, either wireless or models attached to the camera with cord.
Focus: A good tip is to set the auto focus and then focus on the brightest point farthest away. (Preferably several kilometres). When this focal point is found, set the focus to manual so that this focus is maintained.
ISO: The ISO value is the light sensitivity of the image sensor. Often Northern Lights photography requires high ISO values to illuminate the image. The pitfall is that ISO values above 800 get grainy, but it is better to get a grainy Northern Light image than a smooth image of nothing.
Image Stabilizer: When using the camera tripod, turn off the Image Stabilizer. The reason is that, ironically, the image stabilizer can cause interference when activated on a tripod.
Raw format: If you can, take pictures in RAW format. Then you have great advantages when finishing the image.
Try to set the setting at home and have a great Northern Light photo shoot!